Sloomoo Institute
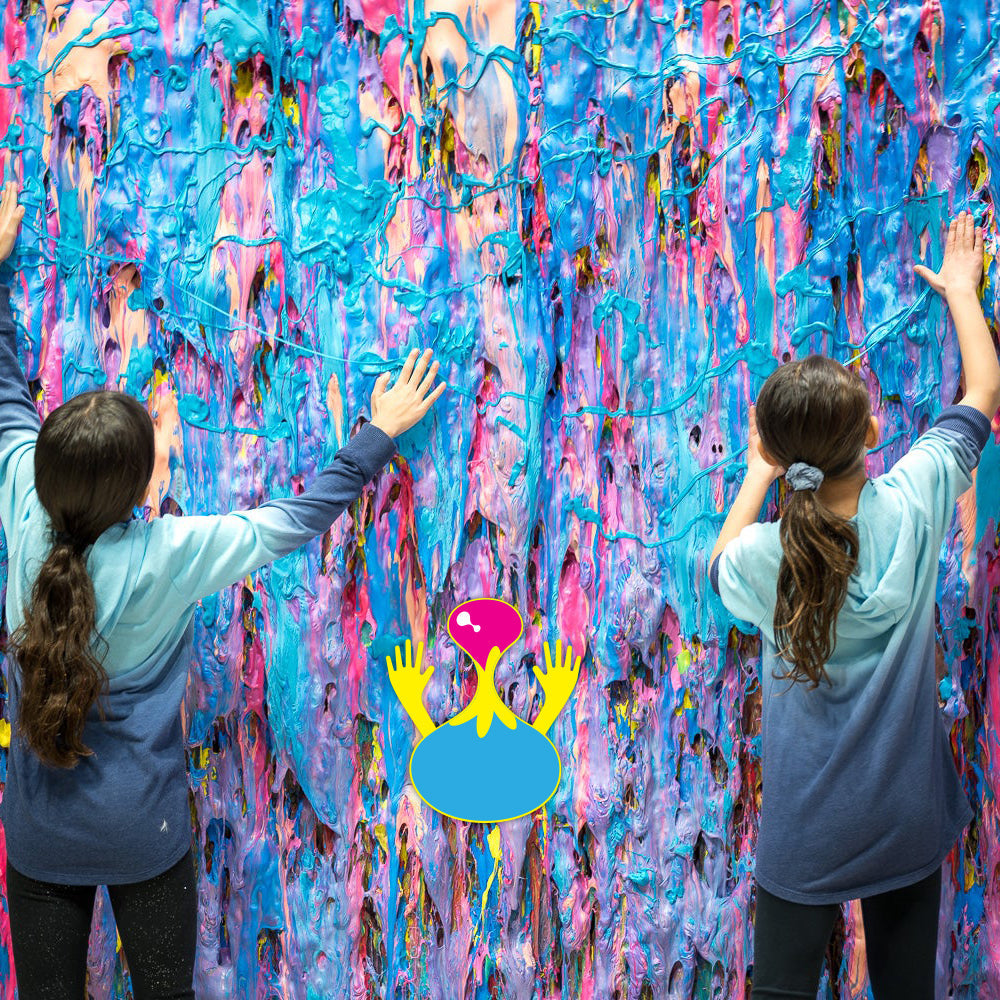
Escape! Get off your screens and immerse yourself in our mesmerizing world of #satisfying joy. The Sloomooverse is full of never-ending, hand-crafted slime, yummy scents, vivid colors, and soothing ASMR delights.


VISIT SLOOMOO
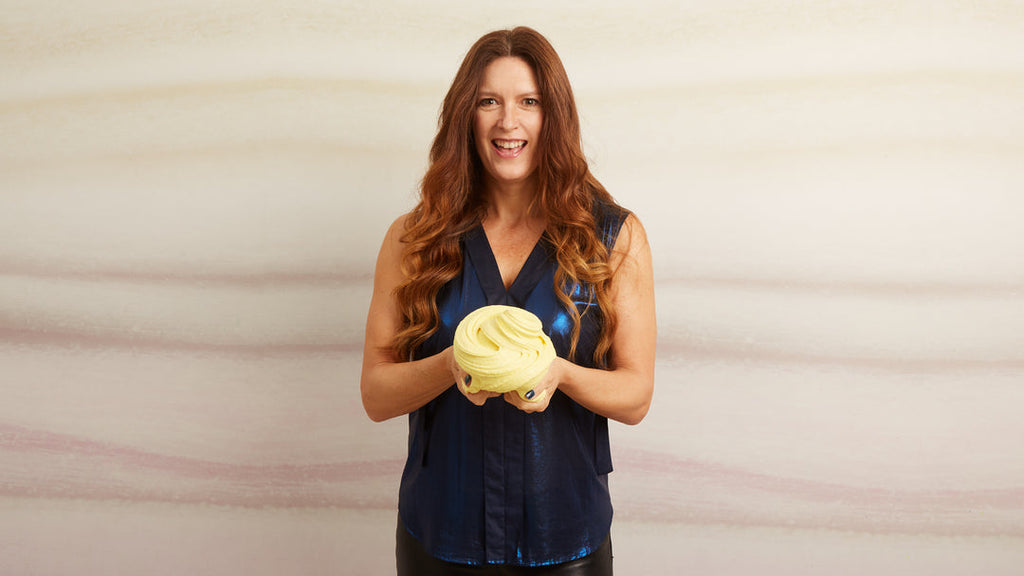
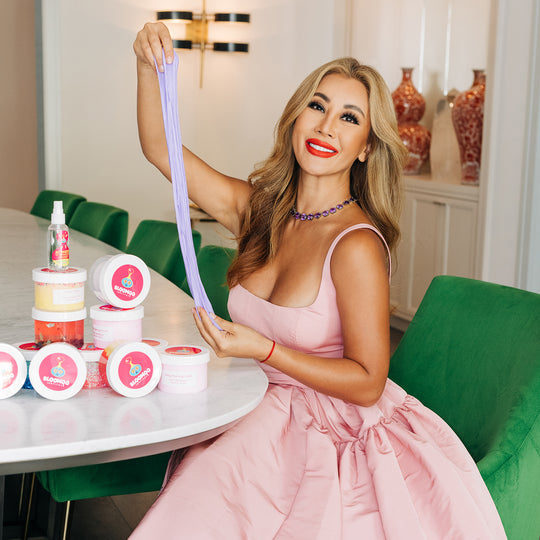
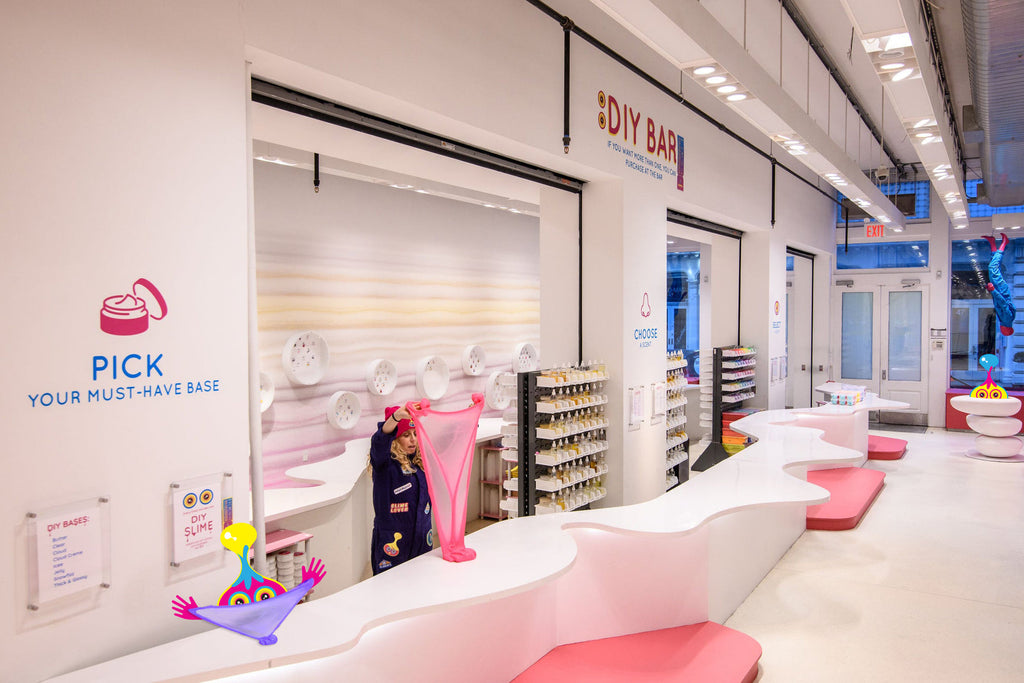
The Sloomooverse combines delicious scents (birthday cake, fresh berries, cotton candy), sounds that energize as well as soothe, an invigorating palette, and a feast of visual and tactile wonders. Plus, you’ll design your dream slime at our DIY Bar. Over 4,320,000 unique combinations! Play, connect, enjoy!
PRIVATE EVENTS
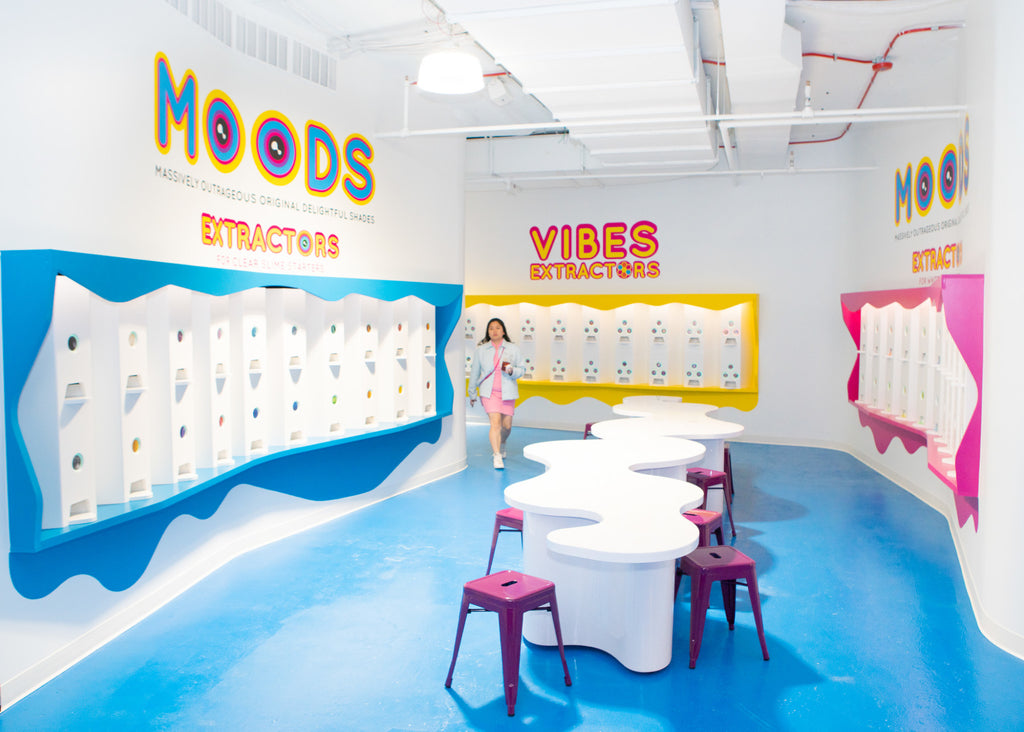
You can have Sloomoo all to yourself. It’s an eye-popping space for parties, corporate off-sites, and bespoke events. Make memories everyone will hold on to.


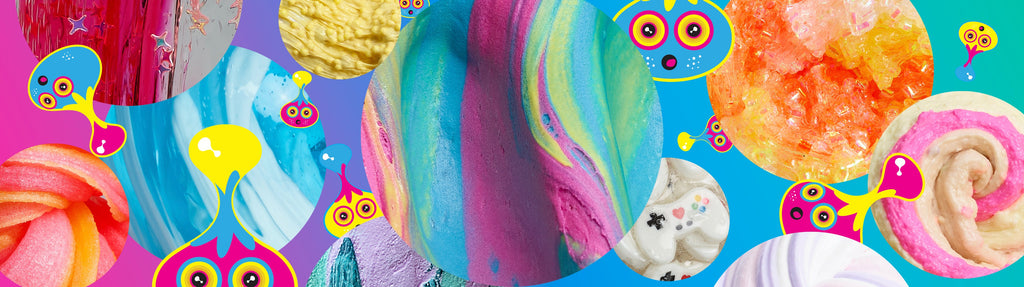
WHY OUR SLIME?

SHOP BY COLLECTION
View all